-
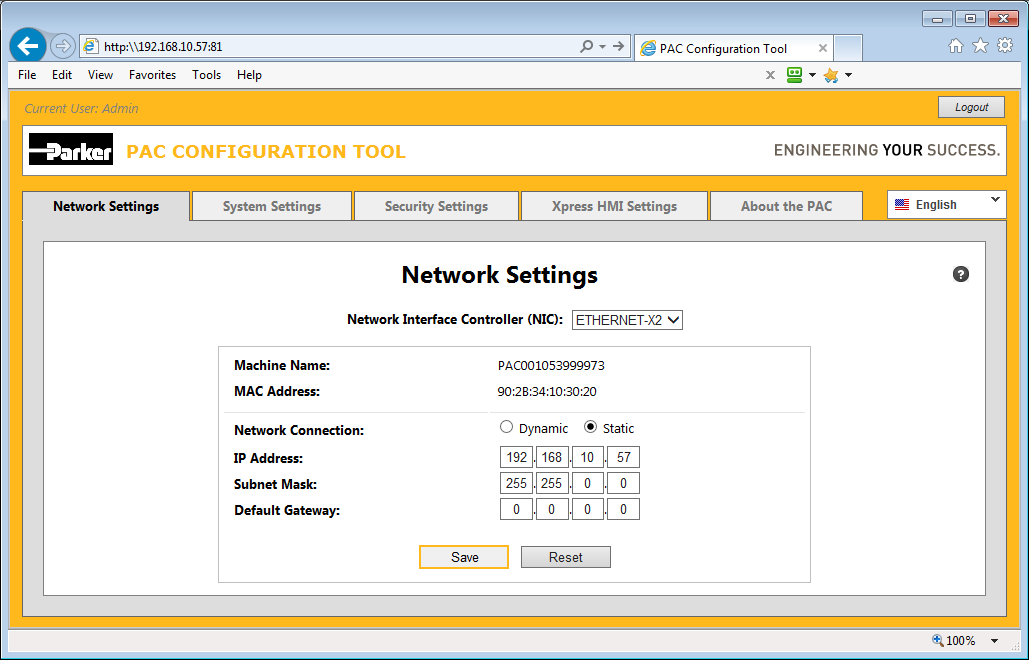
Initial Network Settings
page displayed
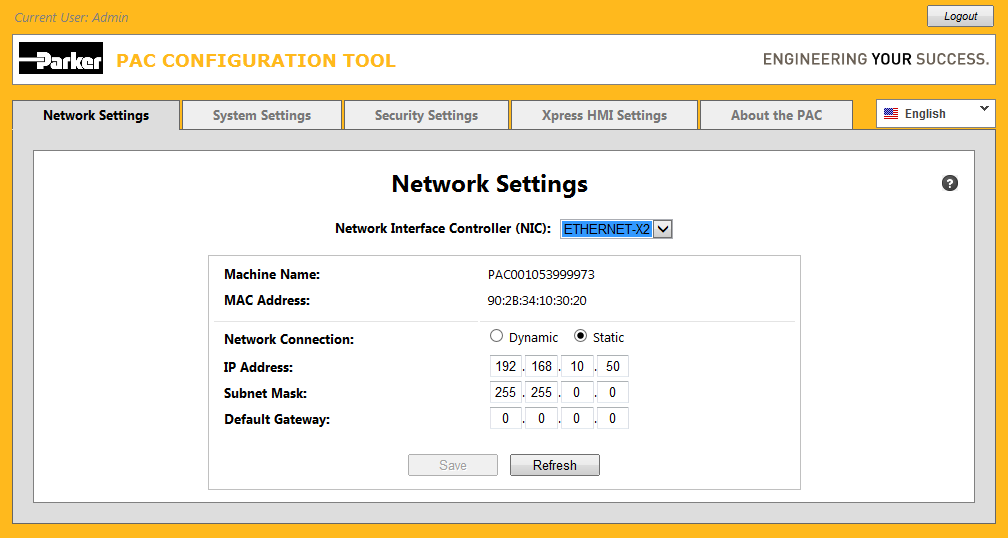
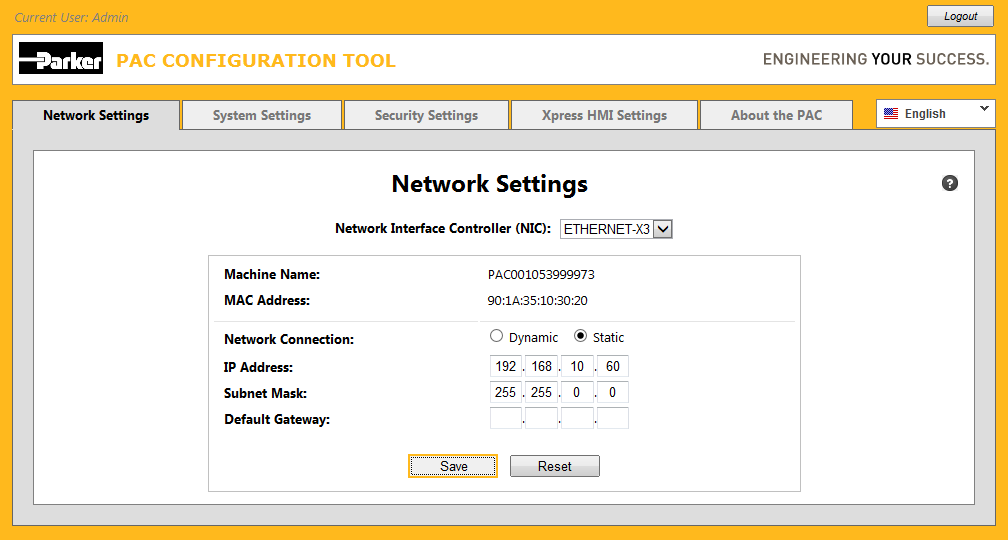
The following is an example of the page displayed in the web browser after logging in successfully to the PAC:
-
Changing the current Network Interface Controller
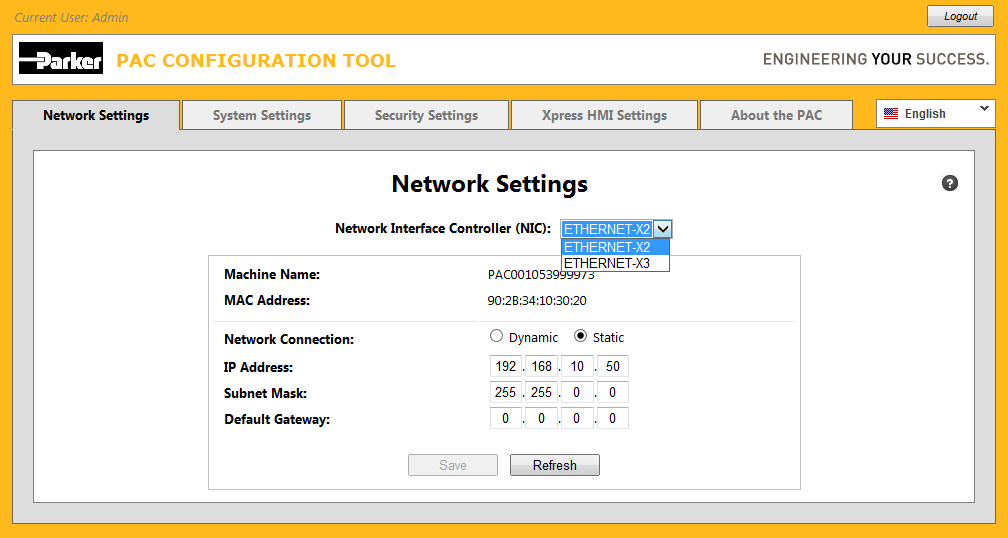
You can view and/or configure the alternate Network Interface Controller (NIC), at anytime by selecting
it from the drop-down:
You must save any changes you make to the currently selected NIC prior to selecting another
NIC from the drop-down to prevent the current changes from being discarded. (Note that you will
be provided a warning with the ability to save your changes should this situation be encountered.)
-
Changing an IP Address
To change the IP Address, click inside any one of its corresponding fields (a.k.a. "octets").
In the example below, the fourth octet of the ip address is selected and the delete key
is subsequently pressed:
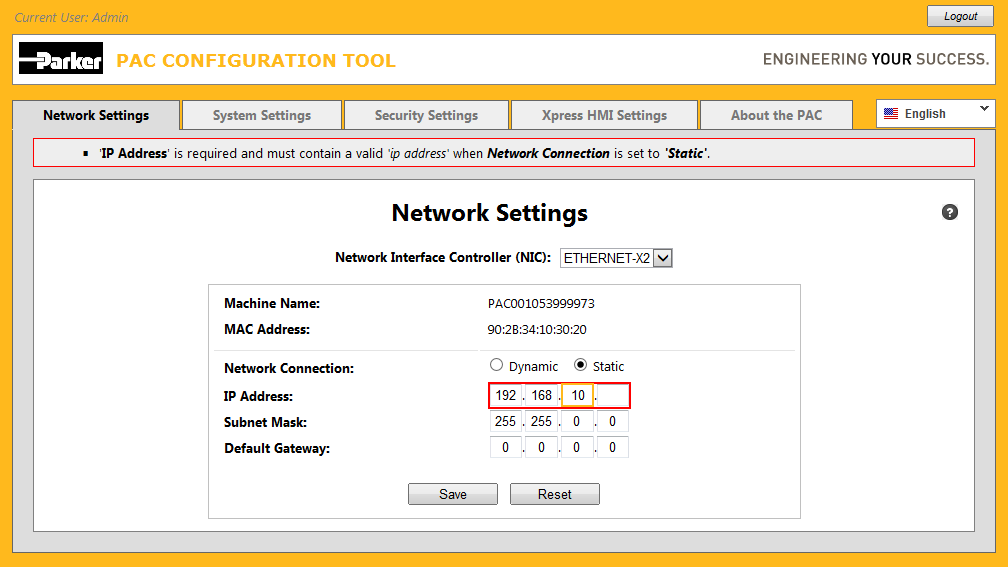
Whenever a field contains invalid information the field itself is surrounded with a red border and a notification message
instantly displayed inside a red frame at the top of the page as shown above. Once valid information is entered into the
field, the notification dissappears.
Instead of clicking each field (octet) using the mouse, you can use the keyboard to navigate. For example, you can press
the tab key to move from one octet to the next or shift+tab to move to
the previous octet; press the left-arrow or right-arrow keys to move a
single character left or right or press the Home or End keys to quickly
move to the beginning or to the end of the entire ip address field. You can select then type over existing digits, or press
the backspace or the delete key and then retype the appropriate digit(s).
Note that each ip address control only allows numbers to be typed in via the keyboard (or pasted in using the
Ctrl-V
shortcut). You can also type a one or two digit number followed by a period causing the cursor to automatically
jump to the next octet in the sequence.
-
Saving a changed IP Address
The following example illustrates a valid IP Address being entered followed by the
Save
button being clicked:

-
Progress notifier displayed while Saving
After the Save button is clicked, the page is locked and a progress notifier displayed while the
changes are being saved to the NIC:
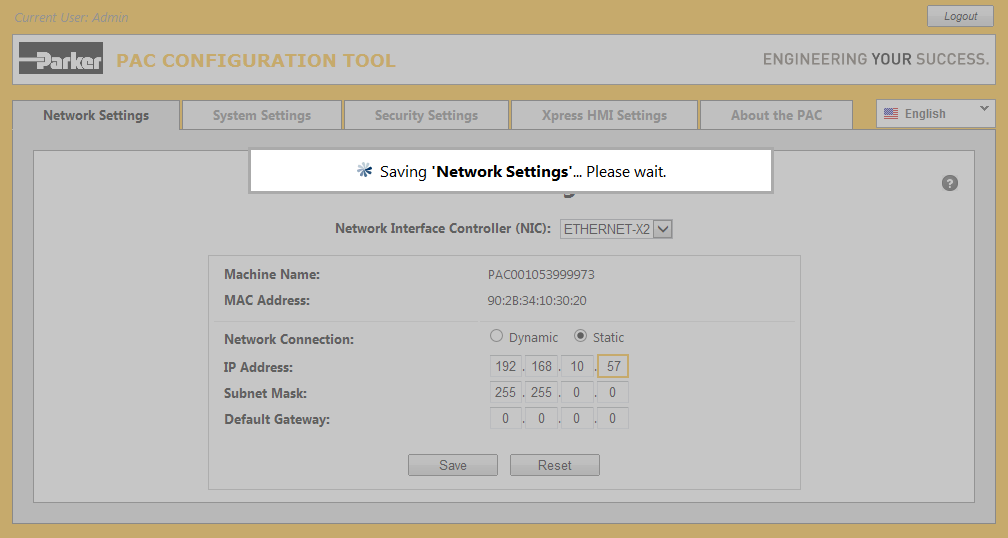
The page is unlocked and the progress notifier disappears automatically once the save has completed.
-
Reboot dialog displayed following Save
After a Save has completed, a confirmation dialog appears asking whether you want to reboot the PAC in order to
finalize the changes made to the Network Settings:
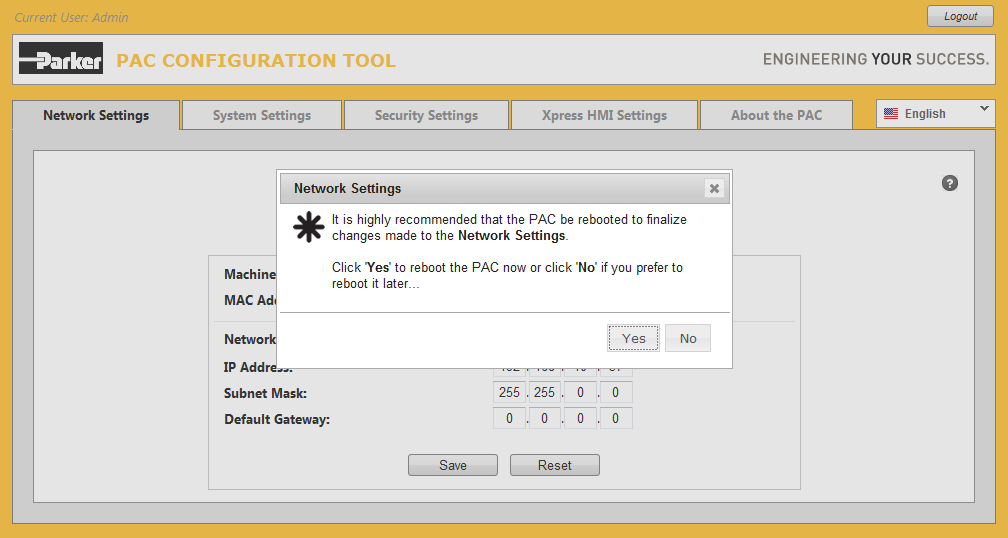
As described in the confirmation dialog itself, it is highly recommended that the PAC be rebooted following a change to an ip address.
This assures that all the sub-systems get initialized to use the most current system values (i.e., re-attached to an ip address
which may have changed).
Clicking the Yes
button will display another progress notifier indicating the system is being rebooted as shown in the next step:
-
Progress notifier displayed while Rebooting
While the reboot is taking place, a progress notifier is displayed:
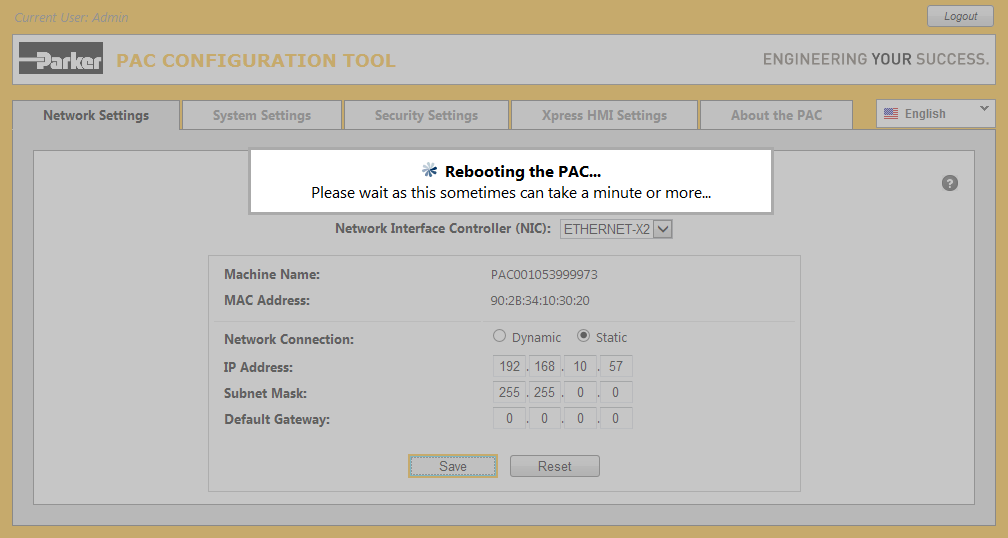
A reboot can take a minute or more so please be patient.
After the reboot has completed the browser will be automatically redirected back to the Login page.
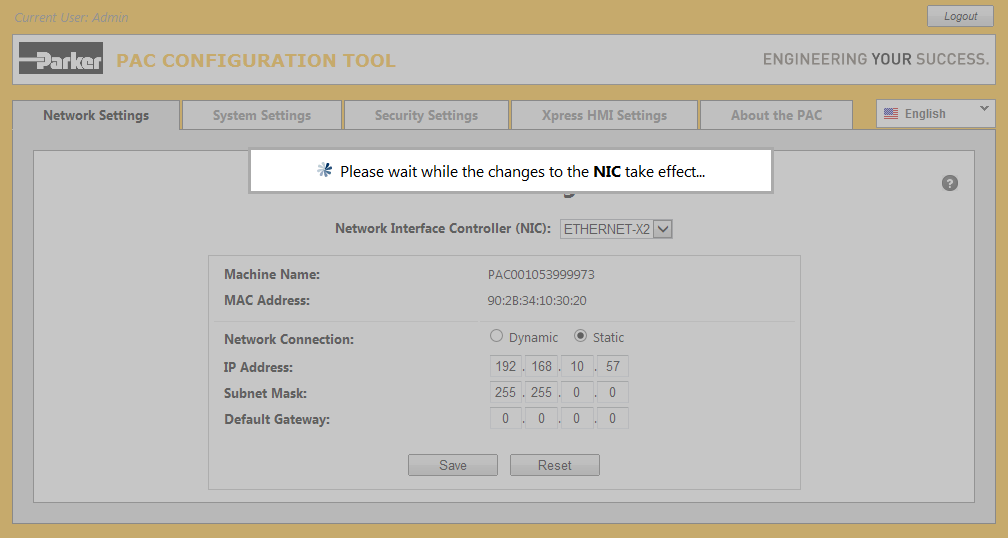
Click the No
button to skip this step and reboot the PAC at your own discretion.
If you do select No
, there will be a long pause (similar to what is shown in the next step)
while the changes to the NIC take affect and your browser is automatically reconnected to the PAC:
-
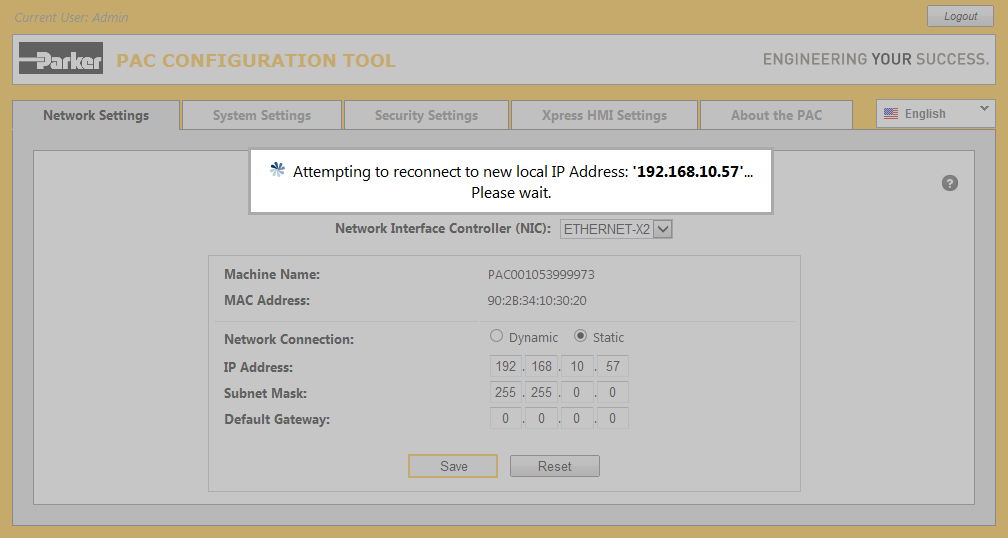
Progress notifier displayed while Reconnecting
Pt. 1
Whenever you change the ip address of the NIC being used to communicate with the web server,
the web page you are using to access the server, must ultimately be reconnected to the new ip address:
-
Progress notifier displayed while Reconnecting
Pt. 2
The reconnection happens automatically after a short waiting period (usually no more than 20-30 seconds)...
-
Loading
page displayed after an IP Address change
The page shown here appears briefly following an ip address change:
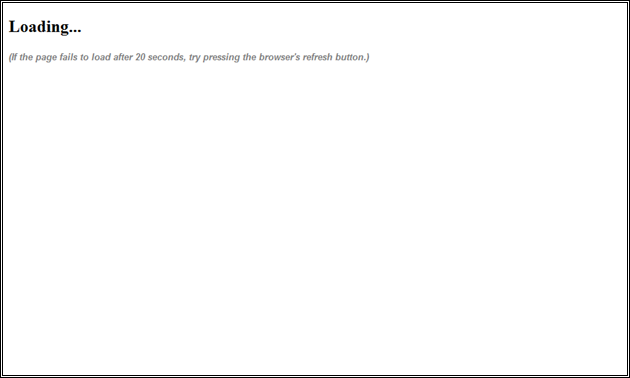
If for some reason the page above continues to be displayed for more than 20-30 seconds it usually means the ip address change
and auto-reconnect process has stalled. Try clicking the browser's own Refresh button to
have it manually reconnect to the web server using the new ip address *.
* On occasion you may also need to manually enter the new ip address (and port number) into the browser's
address bar before clicking the browser's Refresh button.
-
Network Settings
page displayed after an IP Address change
Once the ip address is successfully changed on the PAC, you should see the new ip address appear in the address bar
corresponding to the modified ip address you entered in a previous step:
Your browser should now be reconnected to the Web Server on the PAC and you can continue to make other changes as necessary.
-
Clicking the Refresh
button
Click the Refresh button at the bottom of the page at any time to retrieve the latest values from
the PAC:

Note that this is the preferable method versus clicking the browser's own refresh button which always resets and retrieves
all the tabs and corresponding values instead of just the values
being retrieved for the current tab....
Whenever you make changes to the page, the name of the "Refresh" button automatically changes to "Reset".
Subsequently resetting or saving the contents of the page results in the name of the button reverting back to "Refresh"...
-
Progress notifier displayed while the page is Refreshing
Whenever the Refresh button is clicked, the page is locked and a progress notifier momentarily
displayed while the data is being refreshed:
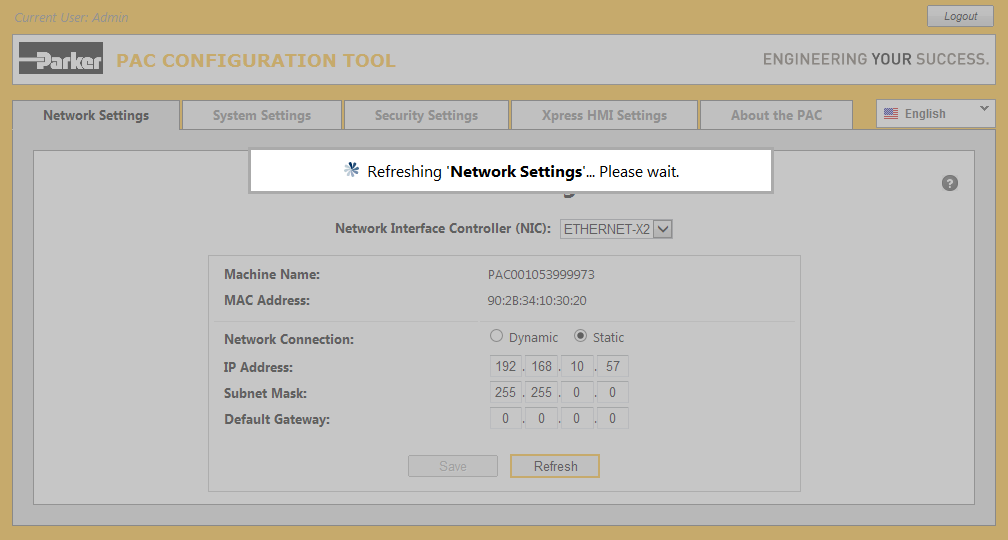
The page is automatically unlocked and the progress notifier hidden as soon as the refresh has completed.
-
Clicking the Reset
button
As described earlier in this online help, whenever you make changes to the data on the page which is considered to be invalid,
a notification frame is displayed.

If you wish to abandon the changes and return to the previously saved state, you can click the Reset
button at any time (that is, any time prior to clicking the Save button which makes valid
changes permanent).
-
Progress notifier displayed while the page is Resetting
Whenever the Reset button is clicked, the page is locked and a progess notifier is momentarily
displayed while the Network Settings are being reset:
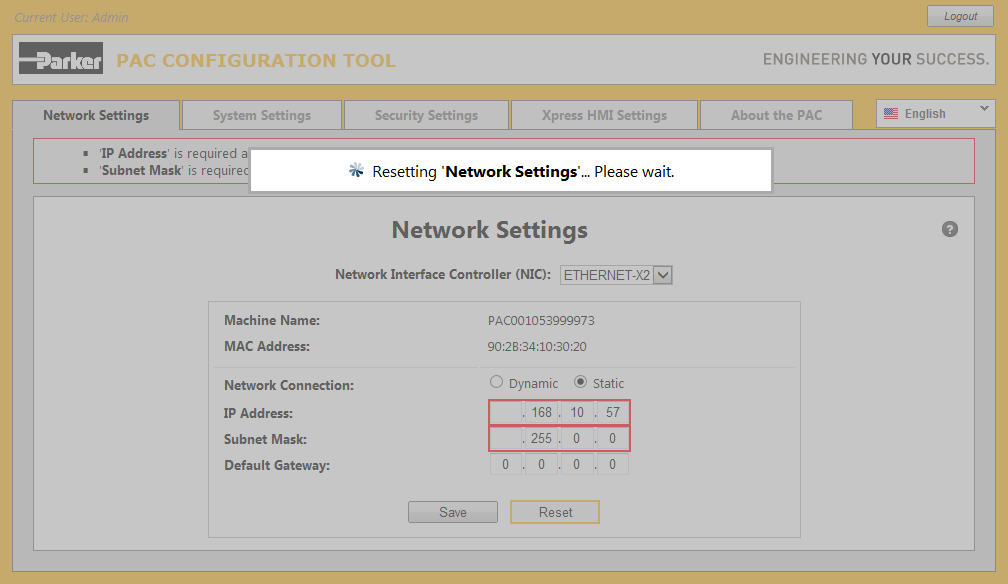
The page is automatically unlocked and the progress notifier hidden after the reset has completed.
-
Notification frame displayed when data is invalid
The following page shows the Subnet Mask field containing invalid data:
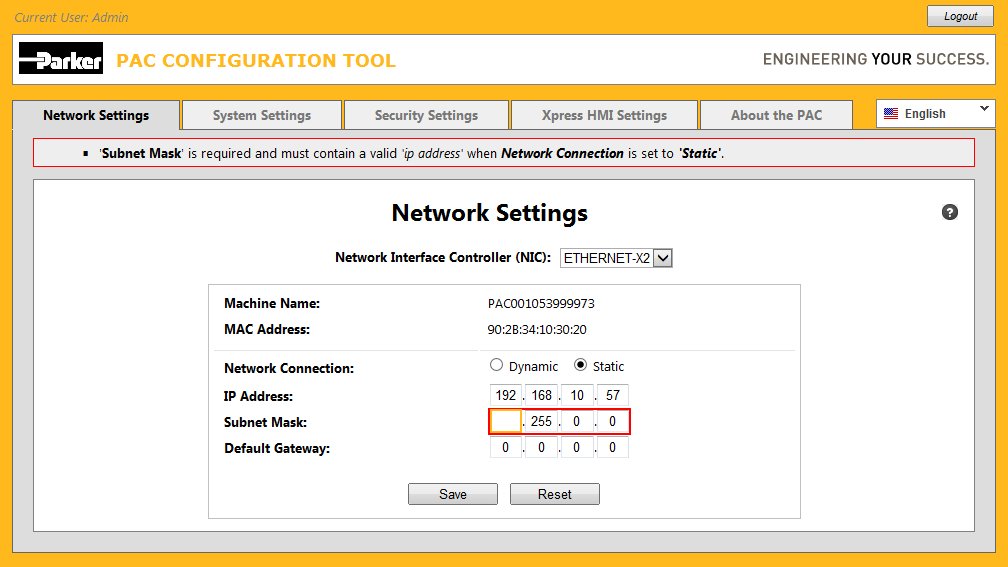
Invalid data is always easy to identify because it is displayed with a red border around it.
-
Invalid data notifier displayed while attempting to Save
If the Save button is clicked while any field on the page contains invalid data, the page is locked
and a notification message is momentarily displayed:
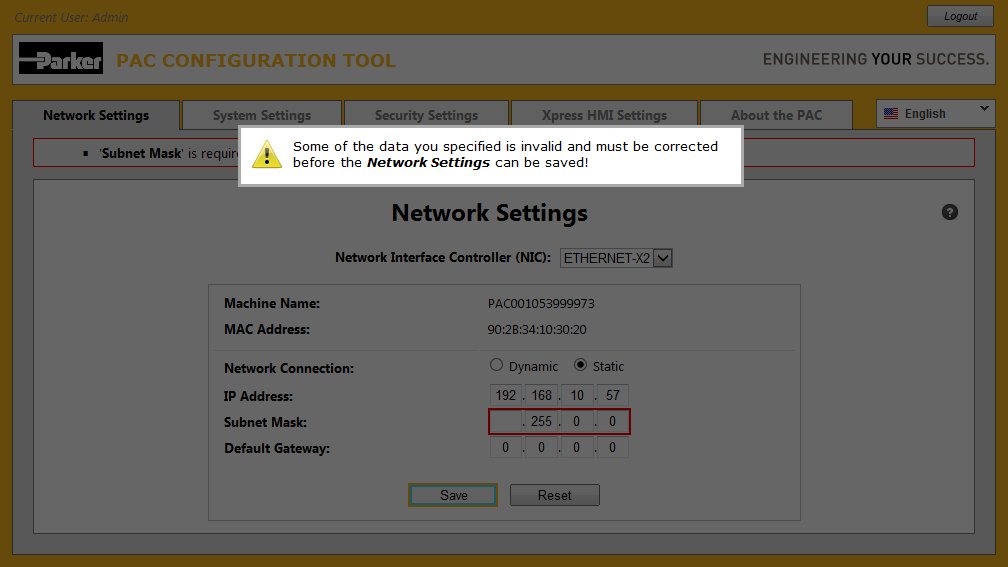
The message disappears automatically after a few seconds allowing you to proceed to make the neccessary corrections.
You can click the mouse at any time to force the message to disappear immediately without having to wait.
-
Changing the Network Interface Controller (NIC)
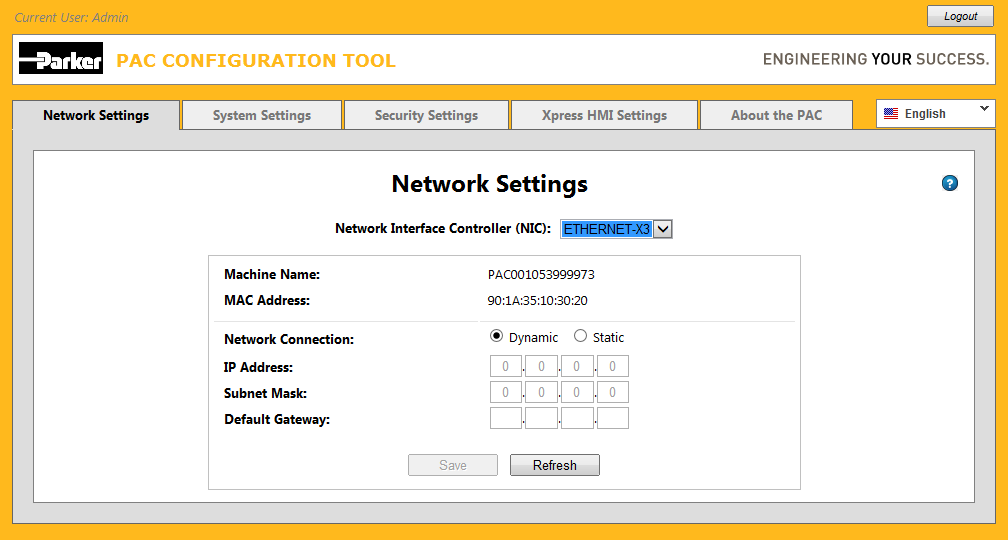
The following page shows the result of selecting a different Network Interface Controller (NIC)
using the drop-down.
Here the NIC is changed from ETHERNET-X2 to ETHERNET-X3:
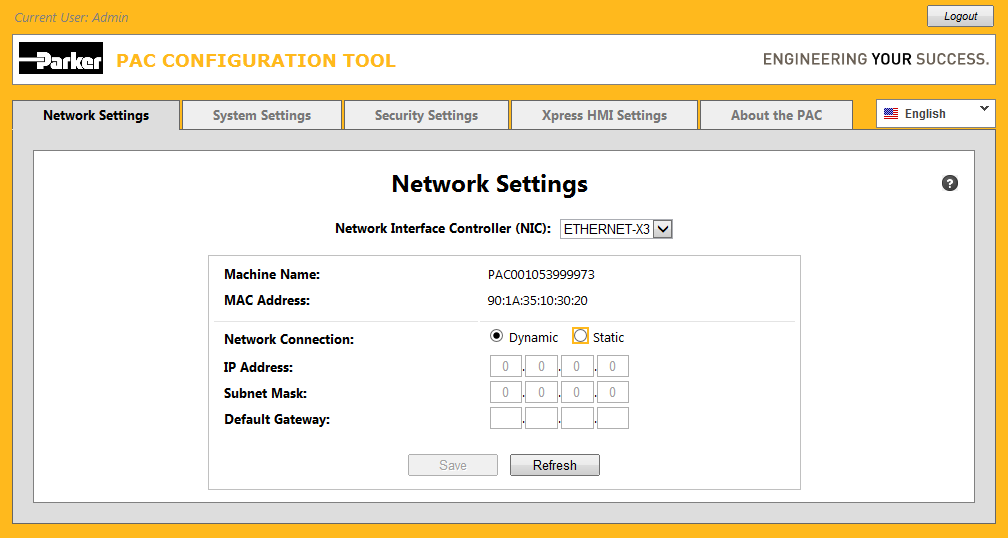
The Network Connection can be changed from Dynamic to Static at any
time, but can only be changed from Static to Dynamic, if and only if, the currently selected
NIC is not the one being used by the Active Web Server to communicate with the client. This
is because changing a network connection to Dynamic results in an unknown arbitrary ip address being assigned
to the controller by the domain's DHCP server thus preventing the client from knowing how to
automatically reconnect
itself to the web server using the new ip address.
-
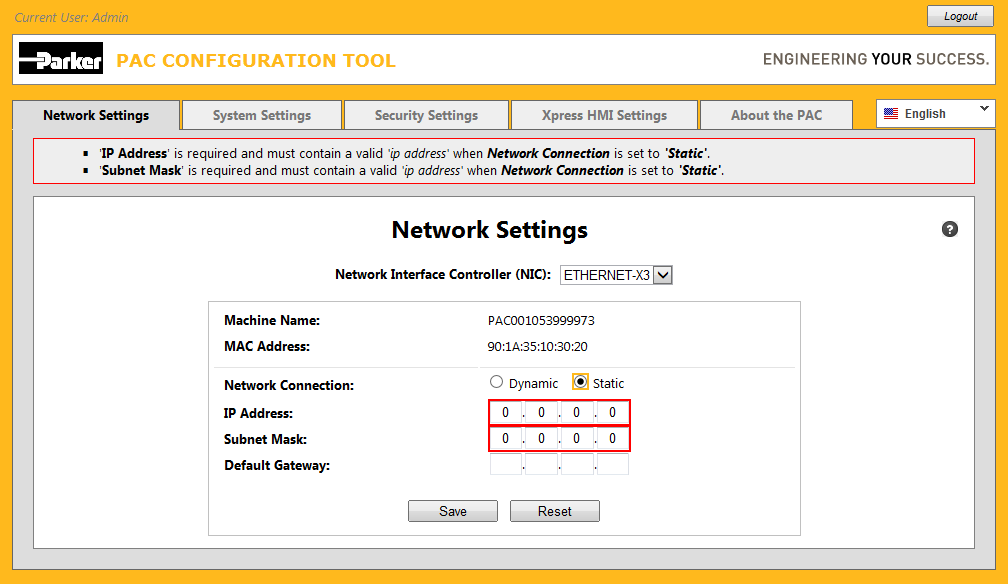
Changing the Network Connection
from Dynamic to Static
Sometimes when changing the Network Connection from Dynamic to Static, invalid data is immediately
indicated in red as shown below.
This situation happens because only Static data can be considered invalid. Dynamic data is automatically
set by the DHCP server.
-
Changing the IP Address
to one that already exists on the network
In this example we are going to change the IP Address to one which already exists on the server.
Enter a new IP Address such as 192.168.10.60 and then click the Save button.
-
Saving an IP Address
that already exists on the network
The following page shows the result of attempting to save an IP Address that already exists on
the network:
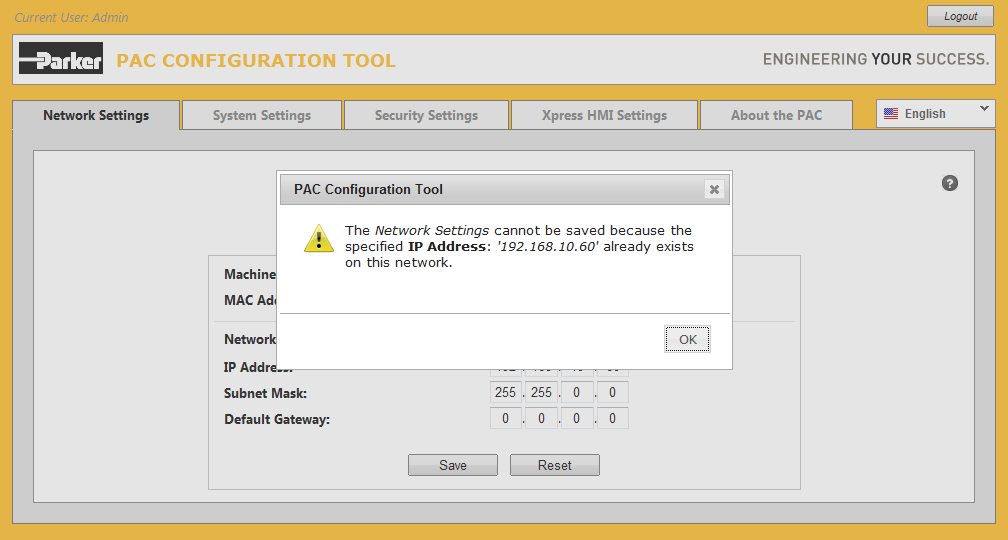
Each device on a network must have a unique ip address. The client is automatically notified when it is attempting
to save an ip address that has already been assigned to another device on the network i.e., as long as the other
device containing the same ip address is turned on at the time of the save, otherwise a conflict can still
occur once both devices have been turned on and will thus have to be manually resolved.
-
Changing selected NIC
when there are unsaved changes
The following page shows the result of attempting to change the selected Network Interface Controller (NIC)
when there are unsaved changes made to the currently selected NIC:
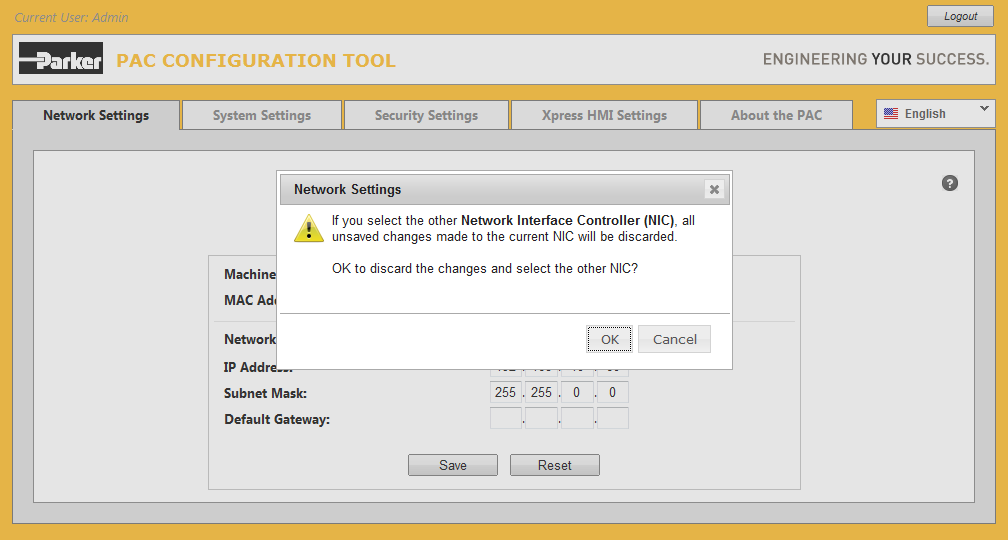
You are provided the opportunity to either discard the changes made to the currently selected NIC (by clicking the OK
button), or to abort the selection of the other NIC (by clicking the Cancel button), at which time you can elect to save
the changes.
-
Displaying Online Help
Click on the [?] button at the upper right corner of the page to display this online help at any
time:
Online help appears independently in its own window within the web browser.